
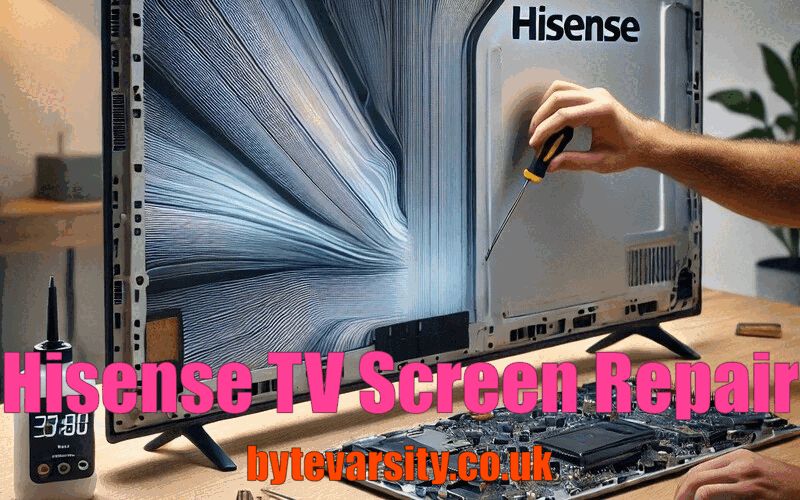
Introduction to Hisense TV Screen Repair
When your Hisense TV screen starts acting up, it can be frustrating. Whether you’re dealing with flickering, color distortion, or even a cracked screen, knowing how to tackle these issues can save both time and money. In my experience, a bit of troubleshooting can go a long way before deciding to call in a professional.
Hisense TVs are known for their great picture quality, but like any tech product, they’re not immune to problems. If you’ve noticed your screen acting up, don’t panic. There are several ways to diagnose and fix minor screen issues, and you might not need to replace the entire panel just yet. Understanding the types of issues you might face is the first step towards effective repair.
Diagnosing Screen Problems in Hisense TVs
Common Signs of Screen Damage
It’s essential to recognize the signs of screen damage early. For example, if you notice dead pixels, flickering, or unusual lines across the display, these could signal a problem. One time, a friend of mine had a Hisense TV with strange color patterns, and it turned out the display cable had become loose. Sometimes the issue is simple, and just a little adjustment can bring the screen back to normal.
Another sign to watch out for is screen burn-in, where an image is permanently “burned” onto the screen after being displayed for too long. Though rare with modern Hisense models, it’s still a good idea to be aware of this possibility, especially if you’re into watching static images or playing video games for extended periods.
Tools Needed for Screen Diagnosis
Before you start fixing things, you’ll need a few tools. Typically, you’ll need a screwdriver to open the back panel of the TV, a microfiber cloth for cleaning, and maybe even a gentle suction tool if you’re dealing with a cracked screen. I found that a good set of screwdrivers (preferably magnetic) can help avoid damaging delicate parts of the TV while you’re diagnosing the issue.
Sometimes, using an HDMI cable or connecting another device to the TV can help determine if the problem lies with the screen or the internal components. It’s always good to rule out other issues before jumping to conclusions.
Common Hisense TV Screen Problems and Quick Fixes
Hisense TV Screen Flickering Issues
Screen flickering can be caused by several factors, including a faulty cable, outdated firmware, or a malfunctioning backlight. I’ve had flickering issues in the past that were caused by a loose HDMI cable. The solution was as simple as unplugging and replugging the HDMI cable, ensuring it was securely connected.
If the flickering persists, updating the firmware might solve the issue. Many times, a software update can fix screen-related bugs. Another fix that worked for me was adjusting the TV’s refresh rate settings—something I discovered after browsing forums for troubleshooting tips.
Dealing with Screen Color Distortion
Color distortion often happens when the settings are out of sync, or there’s an issue with the internal wiring. When I encountered this problem, I tried resetting the display settings to the default factory settings. This often helped restore the proper color balance. Additionally, adjusting the picture settings, like the contrast, brightness, and sharpness, can help improve the overall color performance.
If that doesn’t work, it could be a more serious issue, like a malfunctioning display panel. In that case, it’s best to proceed with caution, as it may require professional help.
Fixing a Cracked Hisense TV Screen
Cracked screens are one of the worst problems you can face with any TV. Unfortunately, once a screen is cracked, there’s little that can be done without replacing the panel. But before you panic, check the warranty—if your TV is still under warranty, you may be able to get a replacement screen.
I once had a friend who managed to crack his Hisense screen while trying to move the TV, and he didn’t realize the extent of the damage until later. If the crack is minimal, sometimes applying adhesive strips or screen protectors can prevent the crack from getting worse. However, if the crack is severe, a screen replacement is inevitable.
DIY Repair Tips for Hisense TV Screens
Resetting Your Hisense TV to Fix Minor Issues
If your Hisense TV screen is showing minor glitches or strange behavior, a reset can often work wonders. This might include screen flickering or unresponsiveness to remote commands. The reset process is pretty straightforward—just unplug the TV for about 10 minutes, then plug it back in. This resets the TV’s internal software and can clear any temporary bugs.
I’ve used this method numerous times when my TV was acting up, and it’s been effective most of the time. For more persistent issues, you may need to explore other fixes or settings adjustments.
Cleaning Your Hisense TV Screen Safely
Sometimes, the issue isn’t with the TV itself but with the buildup of dust and grime on the screen. Cleaning your screen properly can restore clarity and improve your viewing experience. Always use a microfiber cloth to gently wipe the screen—never apply water directly to the screen. For stubborn spots, a dampened cloth (using a mix of water and a small amount of vinegar) can be used.
When I first started cleaning my Hisense screen, I was overly cautious, afraid I’d damage the display. But with the right technique, I realized it’s an easy process and makes a huge difference in the picture quality.
How to Handle Dead Pixels
Dead pixels are tiny black spots that don’t light up. I once had a couple of them appear after dropping the TV slightly. Thankfully, there are a few DIY methods to address this. Some people suggest using a pixel-fixing video (you can find plenty of these on YouTube) that cycles through colors to try and “wake up” the dead pixel.
If the dead pixels persist, you might need to replace the panel. This can be tricky, and sometimes it’s just easier to live with it unless the issue worsens over time.
When to Contact a Professional for Hisense TV Repair
Signs That You Need Professional Repair
Not all screen issues can be fixed at home. If your Hisense TV is showing signs of extensive screen damage, like a large crack, severe color distortion, or if it simply won’t turn on, it might be time to call in the experts. I’ve had friends who waited too long to seek professional help, and the issue only got worse. If you’ve tried all the DIY solutions and your TV still isn’t working properly, don’t hesitate to reach out to a certified technician.
Choosing a Reliable Repair Service for Hisense TVs
When looking for a professional repair service, it’s essential to choose a reliable one. Look for technicians who are familiar with Hisense TVs and have good customer reviews. I always check reviews online and ask for recommendations from friends who’ve had similar issues. A good repair service will offer a warranty on repairs, so you’re not left high and dry if something goes wrong.
Preventing Future Screen Issues in Hisense TVs
Proper Handling and Usage
One of the best ways to avoid future screen issues is to handle your Hisense TV with care. Avoid placing objects on top of the TV, and make sure it’s securely mounted if it’s wall-mounted. Over time, I’ve learned that treating my TV like a fragile piece of tech can prevent a lot of common screen issues.
Routine Screen Maintenance Tips
Regular maintenance goes a long way in preserving your Hisense TV’s screen. Clean the screen gently, avoid exposing the TV to direct sunlight, and ensure the TV’s vents are free from dust. These small steps can keep your TV running smoothly for years.
This guide should help you address and fix most screen issues with your Hisense TV, whether minor glitches or major damages. Sometimes, the fix is simpler than you might think; other times, it’s time to call in a pro. Either way, understanding your TV’s needs and how to handle issues can extend the life of your television. Click for other information about TV problem Solutions.